Following tutorial shows how to enhance colors of a photograph.
There are several ways to enhance colors of a photograph. Two of the methods are really simple and just require a few clicks. I'll be focusing mainly on the third method that uses the HSV components.
Following are the two test images that I'll be using:
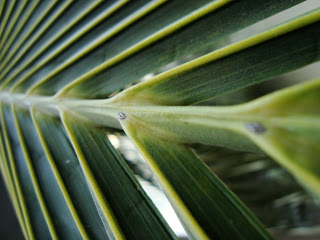
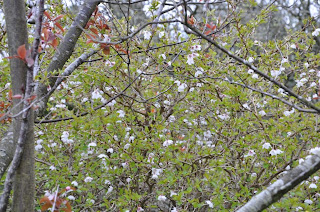
First method - using GIMP's inbuilt color enhance option
GIMP has an inbuilt option to enhance colors[ Colors | Auto | Color Enhance]. Sometimes this option is just enough to do the job but sometimes the output is not very satisfying, moreover it doesn't gives you any control over how much enhancement you need.
Following are the two images after applying GIMP's inbuilt color enhancement:
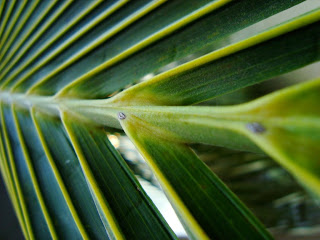
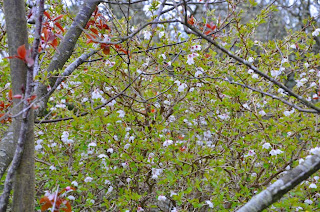
As you can see, the first image looks much better, there seems to be more scope of color enhancement in the second image.
Second Method - Color saturation
The second method is also pretty simple. We can increase the color saturation in the image to get the desired result. Open the Hue-Saturation dialog [Colors | Hue-Saturation ]. Make sure primary color is selected as "Master". Now increase the saturation using the slider to enhance the colors. You can also play with the lightness to get the desired result.
Following are the results that I got after applying this method on the original images
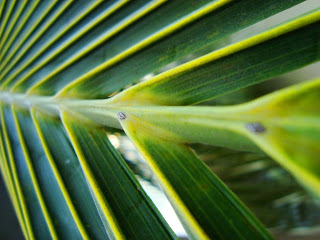 For this one I used a saturation value of 80, and lightness value of 5
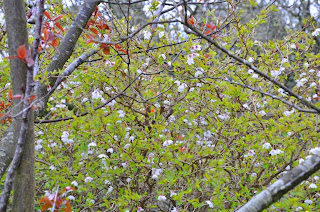 For this one I used a saturation value of 50
Third method - Using HSV components
This method gives us a little more control over how the saturation and the lightness is changed and with some trial and error it can give us much better results. If you don't know what is HSV color model, you must read a little about it.
1] First thing to do is to decompose the image into its HSV components. To do this select [ Colors | Components | Decompose ]. Chose the HSV color model, and check the "decompose as layers" checkbox. Click "ok".
2] You should get another image with 3 layers representing the H(ue), S(aturation), V(alue) components of the original image.
3] We'll be working only on the "saturation" and the "value" layers.
4] First, the saturation layer. You can use the levels or curves to enhance the saturation layer. To see the effect of the change you made, select [ Colors | Components | Recompose ], this would recompose the image using these layers.
I used levels to change the saturation layer. Following is the screenshot of it:

This is what I got after recomposing the image:
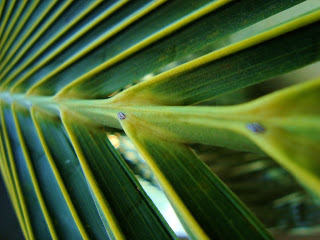
5] Now, the value layer. This layer represents the intensity of the colors in the image. I used the levels to enhance this layer. Following are the settings I used:

This is what I got after recomposing the image:
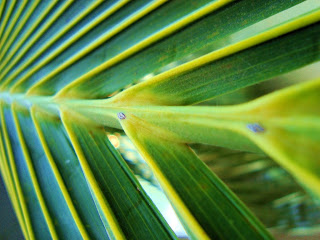
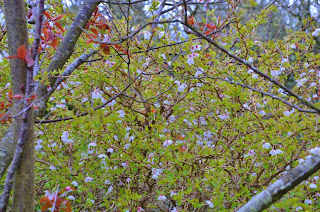
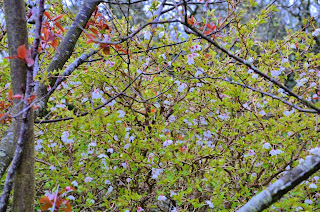
Similarly, I applied the same steps as above on the second image. Following are the screenshots of the intermediate steps and the final result:


gud one
ReplyDeleteit helps!!
thanks!!
ReplyDeleteI love your tutorials
ReplyDeleteThanks!
ReplyDeleteThanks for sharing this post I read your complete post I agree with your view that every system developed contains something unique, original and clever. add your website here
ReplyDeletethank u very much.. your tutorial is very helpful
ReplyDeletethank u very much
ReplyDelete