You'll need an image manipulation software, I used GIMP 2.6.2. Its open source and freely available.
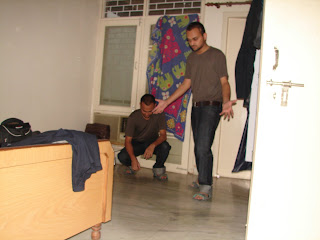
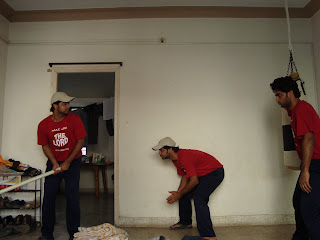
1] First thing to do is to take two pictures of yours. While taking the pictures utmost care must be taken that the camera (and other objects in the scene) are not moved. Try to make sure that everything else except you in the pictures should remain still. For example following are the two pictures that Parag gave me (resized to 1024x768):


2] Next thing you need to do is open these images in GIMP. You can use "File | Open as Layers" to open the two images as two layers. You should have something like this:
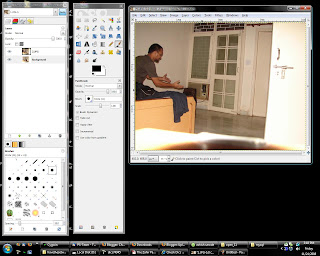
3] Hide the first layer (click on the eye against the first layer in the layers dialog)
4] Take the "Scissors Select Tool" and use it to select the person in the second layer (you can also use "Free Select Tool") try to keep the selection close to the person.
5] Grow the selection using "Select | Grow" so that some more area around the person is selected. I grew the selection by 25px. You shoud have something as below:
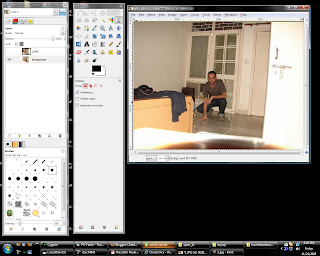
6] Make the first layer visible (make sure the selection is not lost). Right click on the layer and select "Add layer mask". Select "White (full opacity)" in the dialog and click "Add". You should see that there is another white layer added to the right of the first layer.
7] Click on the layer mask added, select the "Bucket Fill Tool", make sure that foreground color is set to black and the selection is still there. Click inside the selection. This should fill the selected area on the layer mask with black colour. Also, the person in the second layer should become visible. You can lose the selection now.
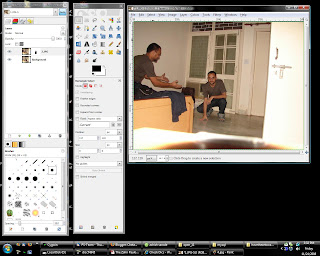
8] Its almost done, but there might be some sharp color changes around the second person because of the change in the lighting. To Fix this we will blur the layer mask a bit so that the colours of the two layers are blended. Select the layer mask and select gaussian blur from "Filter | Blur | Gaussian Blur". Select radius something less than how much we grew the selection, I used 22px.
9] Done!!

Some other images I made:
